Filing a patent takes 6 major steps over 2 to 3 years and costs $5,000 to $15,000 for most inventions. This checklist covers every step from documenting your invention through patent grant, with cost estimates and cross-references to our detailed guides at each stage.
Print this out. Check items off as you go. Having a clear map makes the process manageable.
Phase 1: Pre-Filing (Before You Spend a Dollar)
The cheapest mistakes are the ones you catch before filing. This phase costs little or nothing but determines whether the rest of the process is worth pursuing.
1. Document your invention in writing with dates
Write down exactly what your invention is, how it works, and how to make it. Include every variation you can think of. Date each entry and, if possible, have a witness sign and date the pages.
This written record establishes when you conceived the invention. While the U.S. switched to a first-to-file system in 2013, documentation still matters for proving you did not derive the invention from someone else. It also becomes the foundation for your patent specification later.
2. Conduct a prior art search
Before spending money on a patent application, find out what already exists. Search Google Patents, the USPTO Patent Public Search tool, and non-patent literature like academic papers and commercial products.
A thorough search costs nothing if you do it yourself, or $500 to $1,500 if you hire a professional. Compare that to $5,000 to $15,000 for a wasted application. The math speaks for itself. Our patent search guide covers free tools and step-by-step instructions.
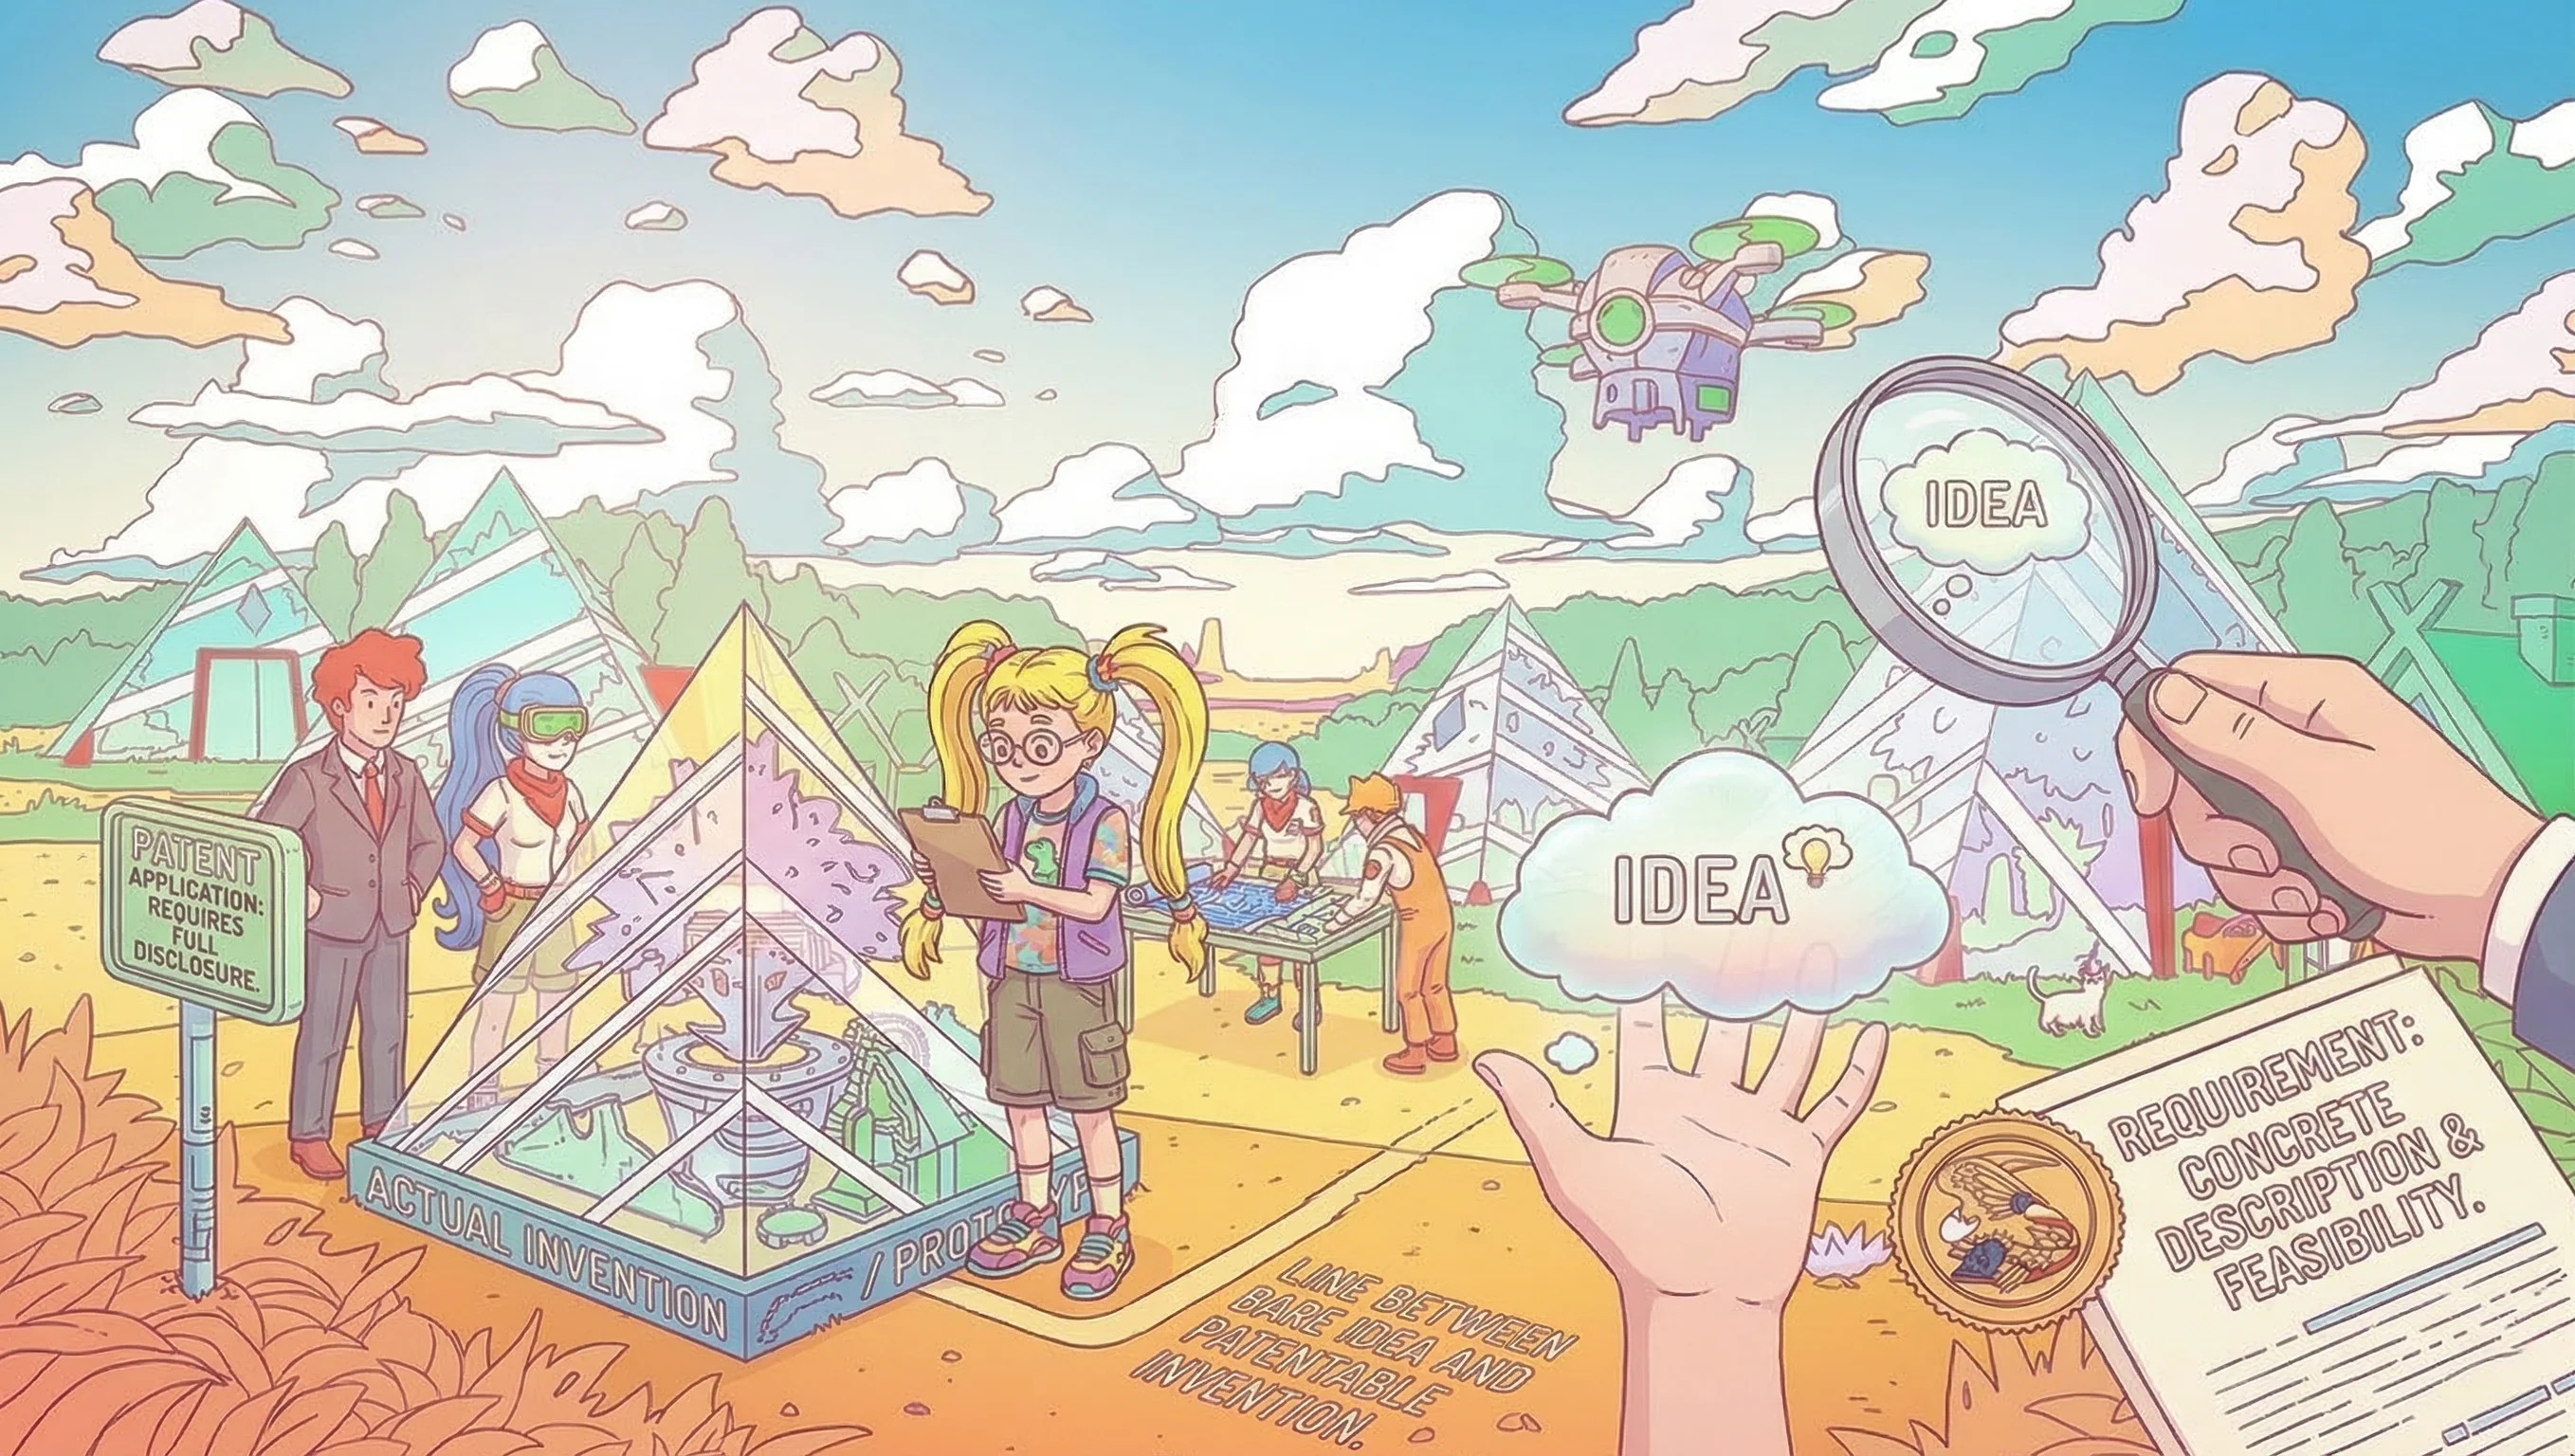
3. Evaluate patentability: novelty, non-obvious, utility
Your invention must meet three requirements to be patentable. It must be novel (not identical to any single prior art reference). It must be non-obvious (not a predictable combination of existing references). And it must have utility (it works and does something useful).
If your search turned up close prior art, study the differences. The question is not whether similar things exist. The question is whether your specific combination of features is new and would not have been obvious to someone in the field. Not sure if your idea qualifies? Read our guide on whether you can patent an idea.
4. Determine your entity size
The USPTO charges different fees based on your entity size. Micro entities pay 80% less than large entities. Small entities pay 50% less. Getting this right from the start saves real money across the entire process.
Micro entity: Fewer than 4 previously filed patent applications, income below a certain threshold (roughly $230,000 in 2026), and not obligated to assign the invention to a large company. Small entity: Fewer than 500 employees. Large entity: Everyone else.
5. Decide: provisional or non-provisional first?
A provisional application is cheaper and faster to file. It gives you 12 months of “patent pending” status while you refine your invention, test the market, or raise money. But it expires after 12 months and never gets examined on its own. You must file a non-provisional before that 12-month deadline or lose your priority date.
A non-provisional application is more expensive but starts the actual examination process. If you are confident in your invention and ready to commit, filing a non-provisional directly saves you one round of fees. See our provisional vs. non-provisional comparison for the full breakdown, and check the provisional cost guide and non-provisional cost guide for specific pricing.
6. Decide: hire an attorney or file yourself?
You can file a patent yourself. The USPTO allows it, and some inventors do it successfully. But self-filed patents have lower grant rates and typically produce weaker claims. An attorney costs more upfront but usually delivers a stronger patent that is harder to design around.
Our DIY vs. professional guide covers the tradeoffs in detail. If you decide to hire someone, understand the difference between a patent agent and a patent attorney. If budget is tight, read our guide on how to patent with limited funds.
Phase 2: Preparing and Filing Your Application
This is where the real money gets spent. Budget $2,000 to $6,000 for a provisional application or $5,000 to $15,000 for a non-provisional. See our patent cost overview for detailed breakdowns.
7. Draft the specification
The specification is the written description of your invention. It must be detailed enough that someone skilled in the field could build the invention from your description alone. This is called the “enablement” requirement.
Include a background section, a summary, a detailed description of at least one embodiment, and a description of the drawings. Describe every variation you want to protect. Anything you leave out of the specification cannot be added later without filing a new application.
8. Prepare patent drawings
Nearly every patent application needs drawings. The USPTO has specific formatting requirements: black ink on white paper, specific margin sizes, numbered reference characters that match the specification. Informal drawings are acceptable for provisional applications, but non-provisional applications typically need professional patent drawings. Our patent drawings guide covers requirements, costs, and common mistakes in detail.
Patent illustrators charge $50 to $150 per sheet. Most applications need 5 to 15 sheets. The drawings should show every component mentioned in the claims and specification. Flowcharts work for method claims. Exploded views work well for mechanical inventions.
9. Write patent claims (non-provisional only)
Claims define the legal boundaries of your patent. They are the most important part of the application and the hardest to write well. Each claim is a single sentence that defines one version of what you are protecting.
You need at least one independent claim and typically several dependent claims that add narrower limitations. Getting the scope right matters enormously. Too broad and the examiner rejects them. Too narrow and competitors design around them. Our guide on broad vs. narrow claims explains the strategy. Provisional applications do not require formal claims, but including draft claims is still good practice.
10. Complete USPTO forms and pay filing fees
For a non-provisional application, you need: the Application Data Sheet (ADS), an inventor’s oath or declaration, an entity status form (micro/small/large), and the fee transmittal form.
Filing fees for a non-provisional application as of 2026: $320 (micro entity), $800 (small entity), or $1,600 (large entity). These are just the filing fees. Search fees and examination fees are separate and roughly double the filing fee.
11. File through Patent Center
The USPTO’s online filing system is Patent Center (which replaced EFS-Web). Create an account at patentcenter.uspto.gov, upload your documents as PDFs, complete the online forms, and pay the fees.
Double-check everything before submitting. Confirm the inventor names are spelled correctly, all pages of the specification and drawings uploaded, and the correct fees are calculated. Errors caught after filing require a petition to correct and often cost additional fees.
12. Receive filing receipt and application number
After filing, the USPTO sends a filing receipt within a few days. This confirms your application number, filing date, and the documents received. Check the receipt carefully. If any documents are missing, you have a limited window to correct the issue without losing your filing date.
Your filing date is critical. It establishes your priority over anyone who files a similar invention after you. If you filed a provisional first, make sure your non-provisional claims priority to the provisional’s filing date.
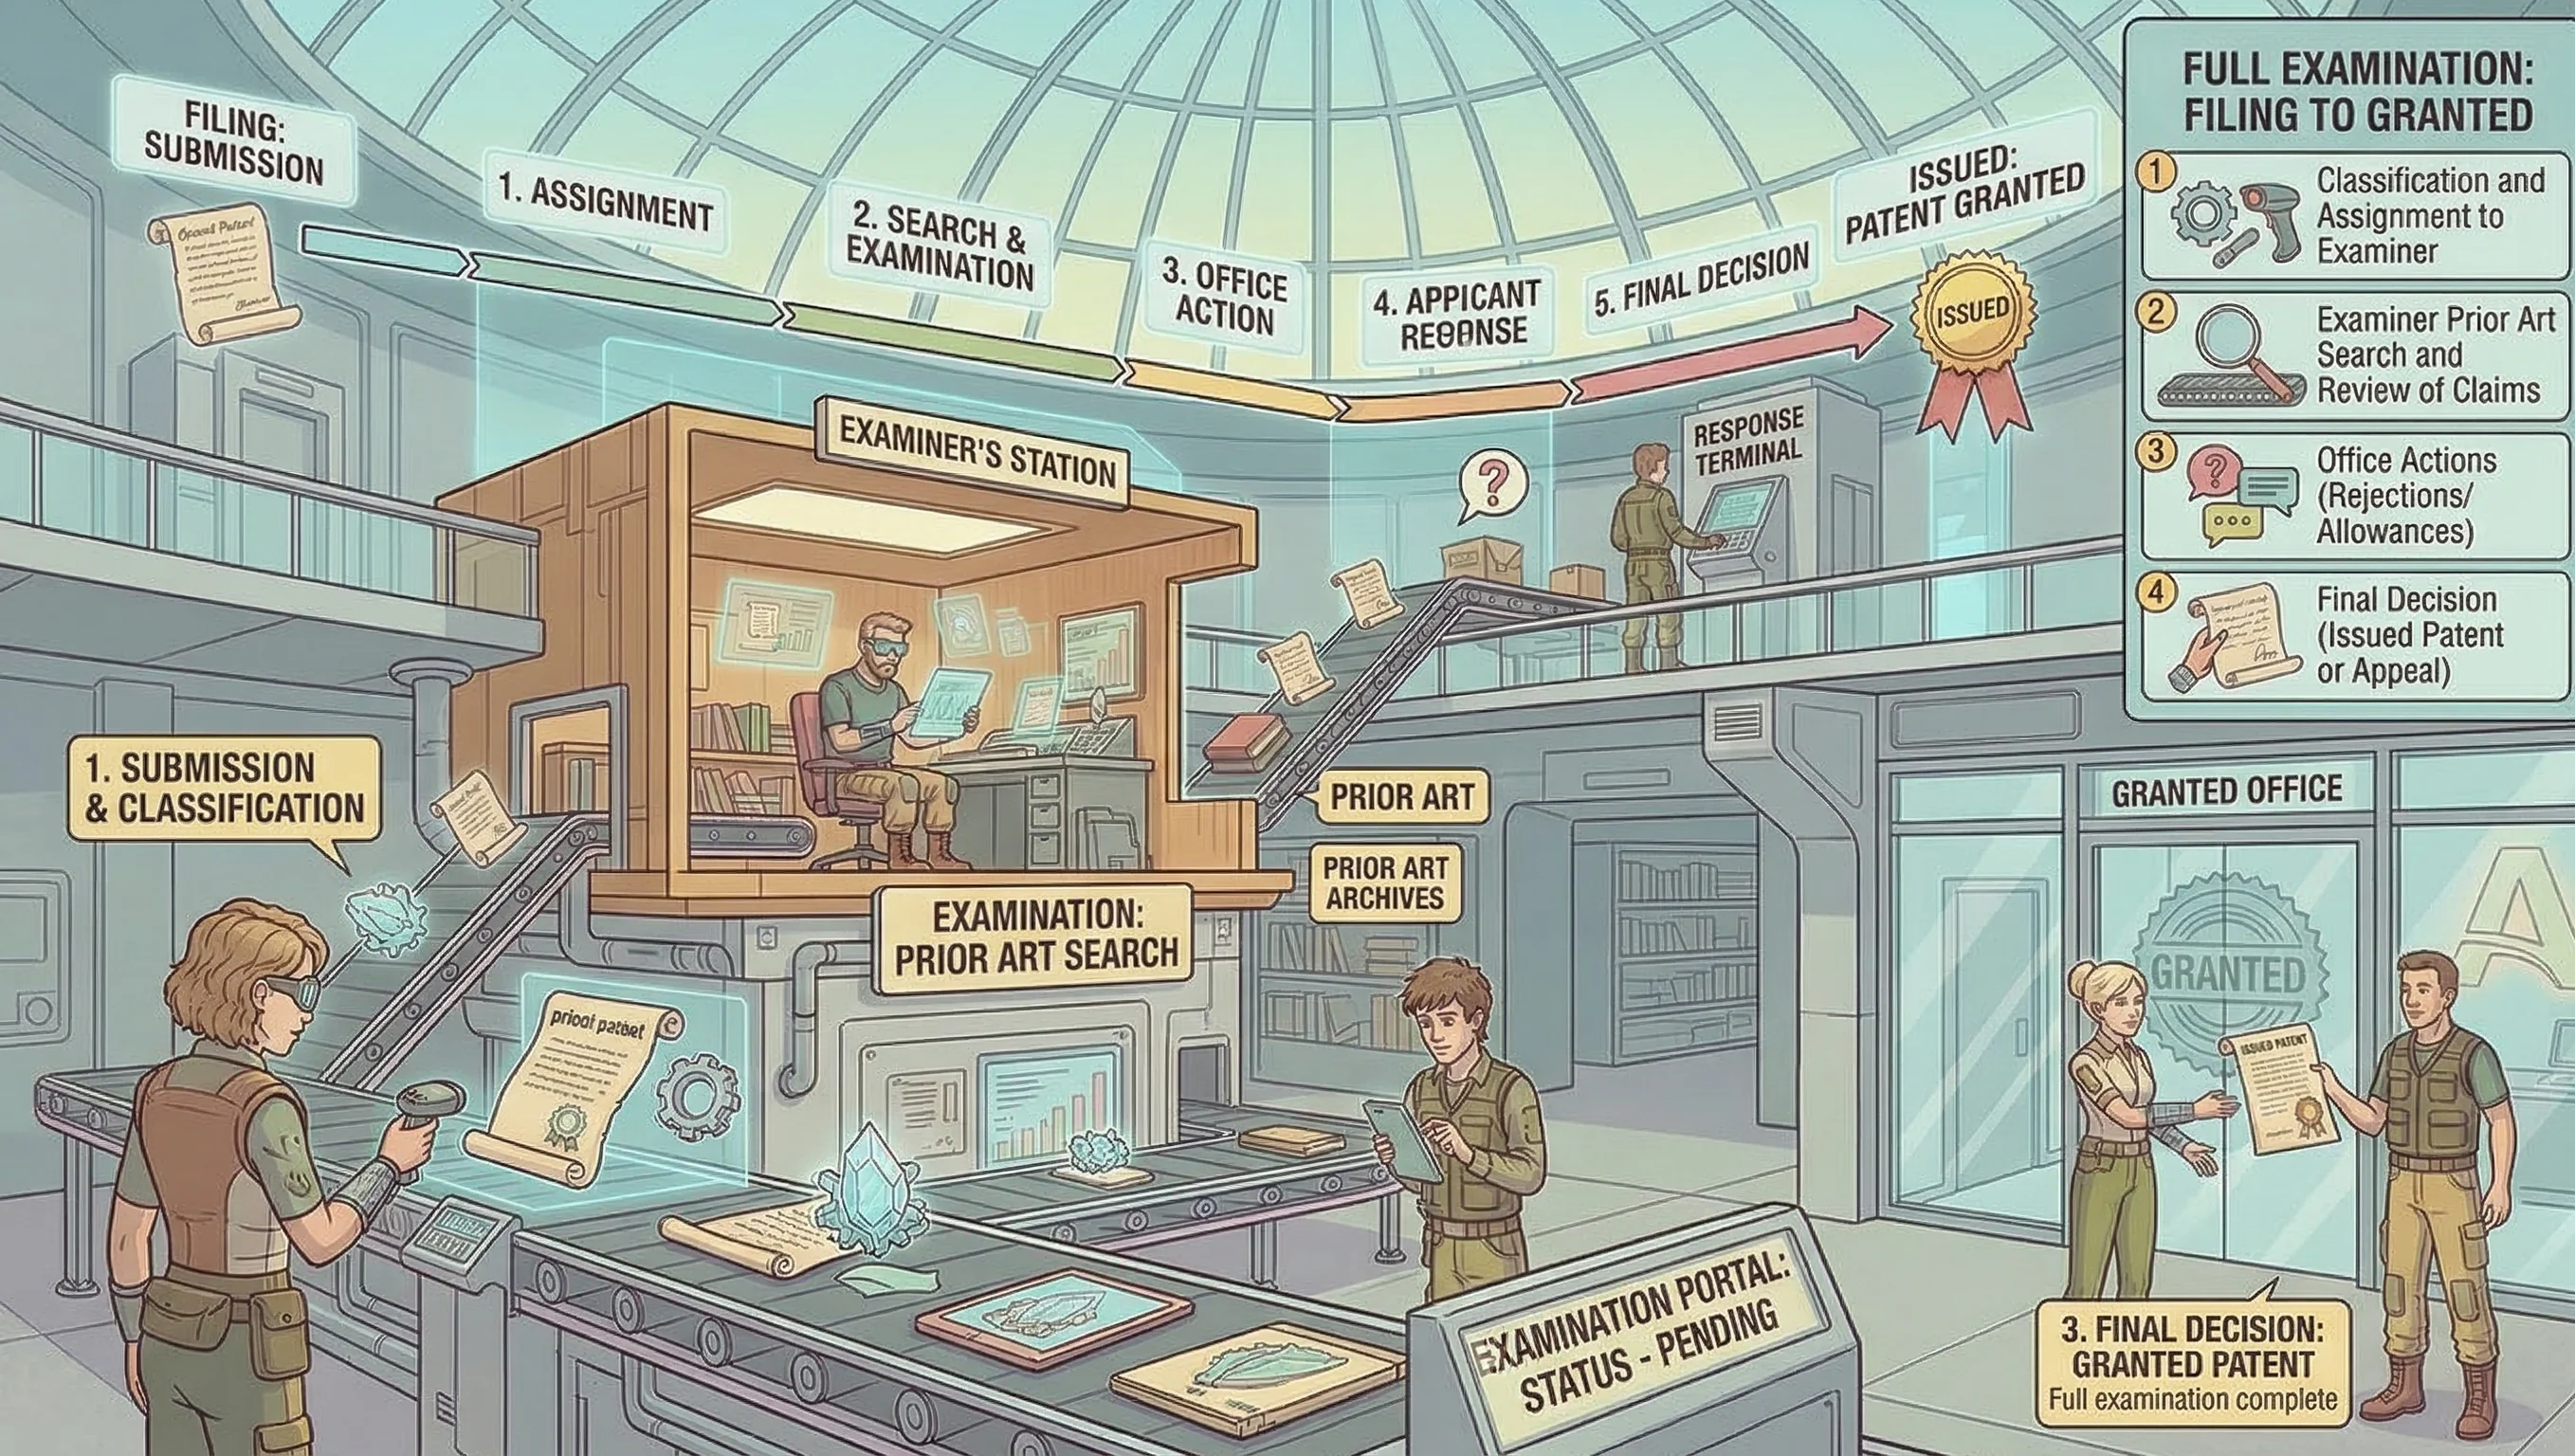
Phase 3: Patent Examination
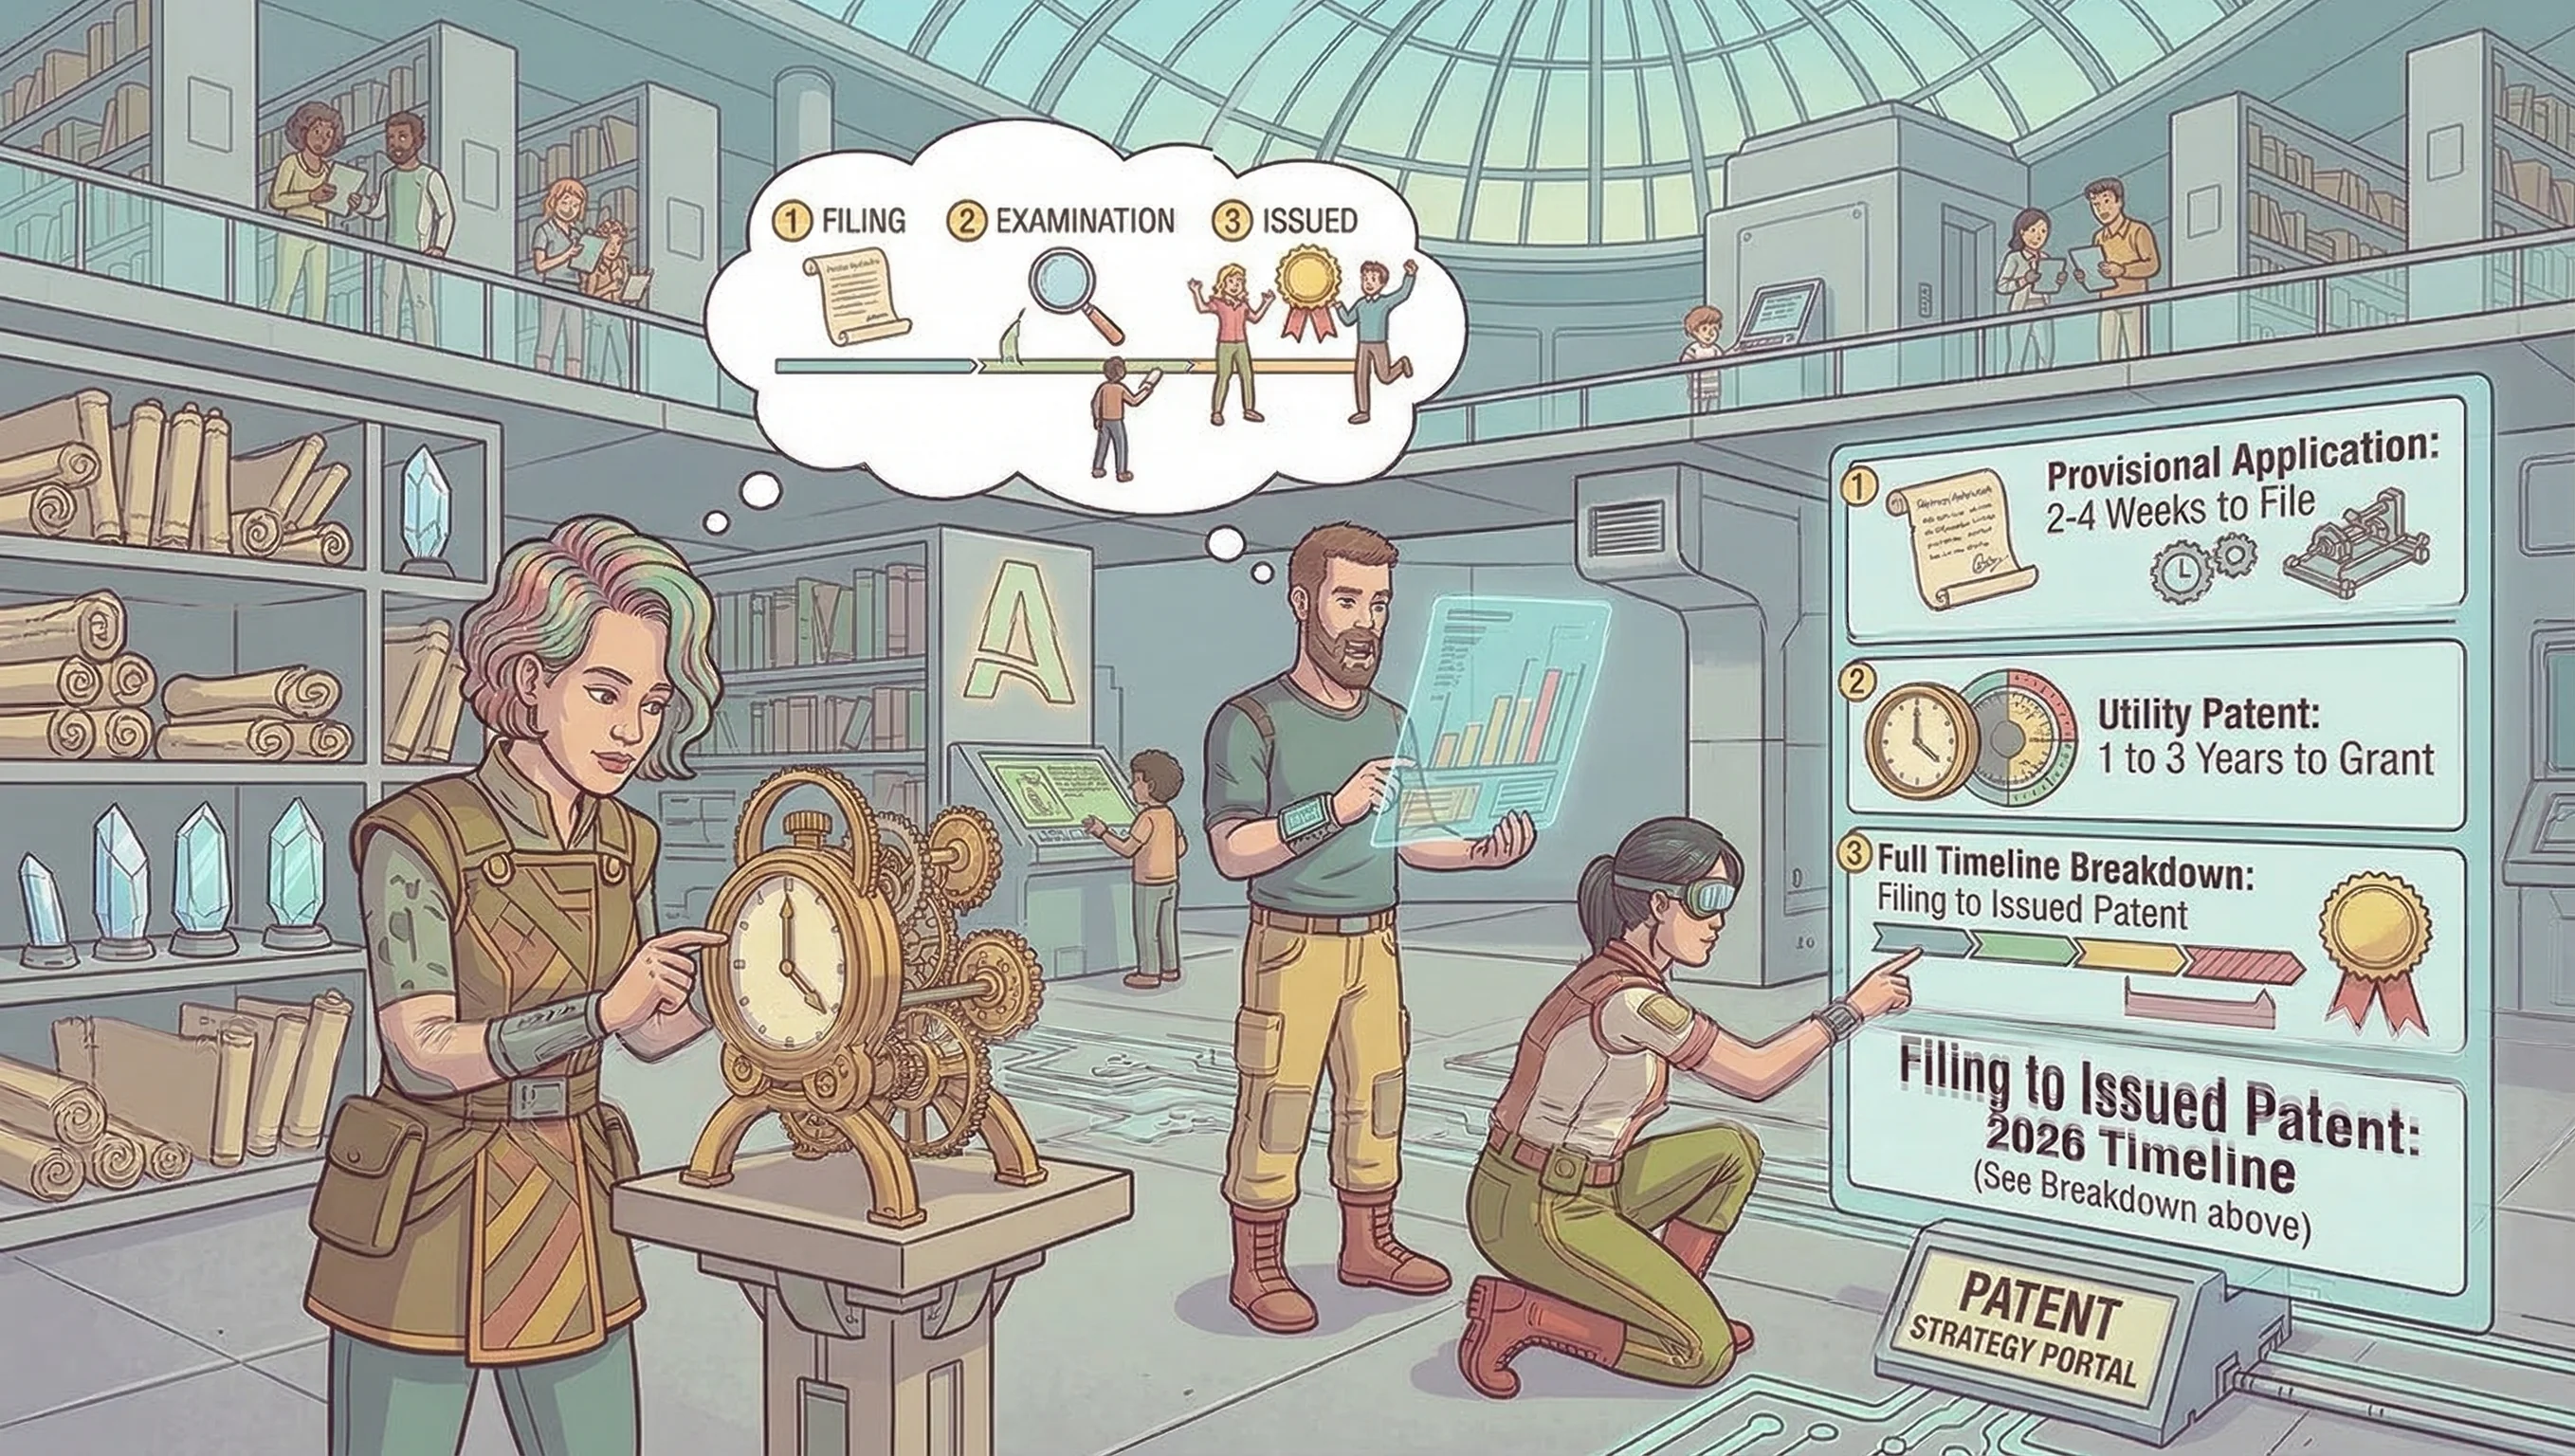
This is the longest phase. Expect 18 to 36 months from filing to a final decision, though it can stretch longer. See our patent timeline guide for detailed averages by technology area.
13. Wait for examiner assignment (about 15 months average)
After filing, your application sits in a queue. The average wait for a first office action is about 15 months, though it varies widely by technology area. Biotechnology and software applications tend to wait longer.
You can pay for Track One prioritized examination to get a first action within 6 months, but the fee is steep: $1,000 (micro), $2,000 (small), or $4,000 (large). During this waiting period, focus on building your business. The patent is pending regardless. Read more about what happens after filing.
14. Review the first office action
Most first office actions include rejections. This is normal. The examiner will cite prior art references and argue that your claims are anticipated (not novel) or obvious. They may also raise formality issues with your specification or drawings.
Read the office action carefully. Understand which claims are rejected, which prior art references are cited, and the specific reasoning. Our office actions guide explains how to interpret and respond to the most common rejection types.
15. Prepare and file your response (within 3 months)
You have 3 months from the office action date to file a response without paying extension fees. Extensions are available up to 6 months total, but they cost $60 to $3,200 depending on the length of the extension and your entity size.
Your response can amend the claims to distinguish over the cited prior art, argue that the examiner’s interpretation is wrong, or both. Most responses do both. This is where having a patent attorney is most valuable. Poor office action responses lead to final rejections.
16. Consider an examiner interview
You can request a phone or video interview with the examiner to discuss the rejection informally. Interviews are free and often productive. You can explain your invention directly, understand the examiner’s concerns, and sometimes negotiate claim amendments in real time.
Examiners are generally more flexible in interviews than in written rejections. A 30-minute call can accomplish what might take two rounds of written responses. Request the interview after you have studied the rejection but before filing your written response.
17. Handle any subsequent office actions
If the examiner is not persuaded by your first response, you will receive another office action. This may be a “non-final” action (allowing another round of amendments) or a “final” rejection (limiting your options for response).
A “final” rejection is not actually final. You can still file a response with minor claim amendments, request an advisory action, or take other steps. But your options narrow significantly after a final rejection.
18. If final rejection: evaluate RCE, appeal, or continuation
If your claims are ultimately rejected, you have three main options. A Request for Continued Examination (RCE) reopens prosecution for another round, but costs another filing fee. An appeal to the Patent Trial and Appeal Board (PTAB) costs $800 to $2,000 in government fees plus attorney time. A continuation application lets you try again with new claims while keeping your original filing date.
Each option has tradeoffs. An RCE is the simplest path but can drag prosecution out indefinitely. An appeal takes 1 to 2 years but often succeeds when the examiner’s reasoning is weak. A continuation is useful when you want to pursue different claim scope. Your attorney can advise on the best strategy.
Phase 4: Post-Grant
Congratulations if you reach this stage. But the work is not over. A patent requires ongoing maintenance and active protection.
19. Pay the issue fee
Once the examiner allows your claims, the USPTO sends a Notice of Allowance. You have 3 months to pay the issue fee: $300 (micro), $500 (small), or $1,000 (large). Miss this deadline and your application goes abandoned.
20. Receive your patent grant
About 4 weeks after paying the issue fee, the USPTO issues your patent with an assigned patent number. You will receive an official patent grant document. The patent term is 20 years from the filing date of the non-provisional application (not 20 years from the grant date).
21. Mark products with your patent number
Once your patent issues, mark your products (or product packaging) with the patent number. Marking is not required to enforce your patent, but it affects the damages you can recover in an infringement lawsuit. Without marking, you can only recover damages from the date the infringer received actual notice.
Virtual patent marking (listing patents on a webpage and putting a URL on your product) is an acceptable alternative to printing the patent number directly on the product.
22. Set maintenance fee reminders (3.5, 7.5, 11.5 years)
U.S. utility patents require maintenance fees at three intervals after grant: 3.5 years, 7.5 years, and 11.5 years. Miss a maintenance fee and your patent expires. There is a 6-month grace period with a surcharge, but after that, revival is expensive and uncertain.
| Maintenance Fee Window | Micro Entity | Small Entity | Large Entity |
|---|---|---|---|
| 3.5 years after grant | $400 | $1,000 | $2,000 |
| 7.5 years after grant | $900 | $1,880 | $3,760 |
| 11.5 years after grant | $1,400 | $2,720 | $5,440 |
Set calendar reminders now. Many inventors lose their patents simply because they forgot a maintenance fee deadline.
23. Monitor for infringement
A patent is only valuable if you enforce it. Periodically search for products or methods that may infringe your claims. Set up Google Alerts for your technology area. Review competitor products and patent filings.
If you find potential infringement, consult a patent litigation attorney before taking action. Sending poorly worded cease-and-desist letters can create legal problems. A professional assessment of infringement is worth the cost before committing to enforcement.
24. Consider international filing if not already done
A U.S. patent only protects you in the United States. If your product sells internationally, consider filing in other countries. The Patent Cooperation Treaty (PCT) gives you 30 months from your earliest filing date to enter national phase in most countries, but fees add up quickly. Focus on the countries where your actual or expected revenue justifies the cost.
If you sell primarily through Amazon, note that U.S. patents can be enforced through Amazon’s brand protection programs for products sold on amazon.com, even by foreign sellers.
Cost Summary
Here is what to budget at each phase for a typical utility patent. Ranges include attorney fees and USPTO government fees.
| Phase | Typical Cost Range | Timeline |
|---|---|---|
| Phase 1: Pre-Filing (search, evaluation) | $0 to $2,000 | 2 to 6 weeks |
| Phase 2: Provisional Application | $2,000 to $6,000 | 2 to 4 weeks to prepare |
| Phase 2: Non-Provisional Application | $5,000 to $15,000 | 4 to 8 weeks to prepare |
| Phase 3: Office Action Responses (1 to 3 rounds) | $1,500 to $6,000 | 6 to 24 months |
| Phase 4: Issue Fee | $300 to $1,000 | One-time |
| Phase 4: Maintenance Fees (total over 11.5 years) | $2,700 to $11,200 | 3.5, 7.5, 11.5 years |
| Total (filing through grant) | $8,000 to $25,000+ | 2 to 3 years |
These are typical ranges for a moderately complex utility patent. Simple inventions cost less. Complex technologies (biotech, semiconductors) cost more. Design patents are significantly cheaper at $2,000 to $5,000 total. See our general cost guide for detailed breakdowns.
Next Steps
Start at the top of Phase 1. The most common mistake is skipping the search and jumping straight to filing. The second most common mistake is filing a provisional application and then forgetting about the 12-month deadline to file the non-provisional.
If you are ready to hire a patent attorney, browse our attorney directory to compare costs, ratings, and specialties. If you want to understand the process better before committing, read our guide on what happens after you file and our full patent timeline.
Filing a patent is a long process. But it is a structured one, with clear steps and predictable costs. Follow this checklist, and you will not miss anything important along the way.
Need to talk to a patent attorney? Find one on MadePatents and compare transparent pricing before you commit. You can also check if you might want to file before selling or disclosing your invention.